IFTTTが有料になったことで,月単位や週単位での予定をIFTTTで管理,追加していたものが数の制限で厳しなくなりました
そこで,SpreadSheetに予定の詳細や追加予定日,周期などの書き,GASで自動追加してくれるようにしてみました!
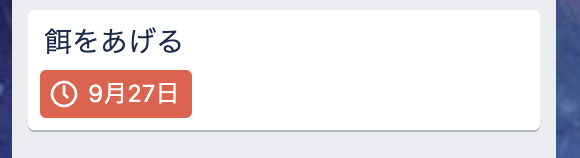
完成画像
カード追加後は締め切りと次回登録日は周期に基づいて,変更されます
スプレットシートでの管理画面画像

trelloのカード
実装機能
- カードの名前,締め切り,追加するリストの指定
- 周期より次回登録日を追加後に自動更新
- 周期のプルダウン選択
- (注) 周期は現在のところ[毎日,2日,週,月,年]での固定になります
準備
プルダウンや項目の順番がスクリプトに関係してくるため,こちらからテンプレートをダウンロードしてご使用ください
trelloのkey,tokenの設定をします
プルダウンは現在のところ,自分で設定する必要があります.
リスト名の列を右クリックし,データの入力規則から「リストを直接指定」で自身のリスト名を追加してください
GoogleAppsScript
Script fileの作成
Goole Driveの中に適当な名前でScriptを作成します
(以下のコードをスクリプトに貼り付けます,ファイル名は適当で大丈夫です)
Main.gs
function main() {
let registrationList = getCanRegistrationItems();
for(let index=0;index<registrationList.length;index++){
addCardToTrello(registrationList[index]);
changeGSheetNextRegistrationDate(registrationList[index]["infoLine"]);
}
}
function getCanRegistrationItems(){
let registraionData = [];
let sheet = SpreadsheetApp.openById(spreadSheetId).getActiveSheet();
for(let index = 2;index<=sheet.getLastRow();index++){
let range = sheet.getRange(index,1,1,5).getValues();
if(isCanRegistration(range[0][4])){
registraionData.push({
taskName:range[0][0],
listName:range[0][2],
deadline:range[0][3],
infoLine:index
});
}
}
return registraionData;
}
function changeGSheetNextRegistrationDate(infoLine){
let sheet = SpreadsheetApp.openById(spreadSheetId).getActiveSheet();
let valueTemp = sheet.getRange(infoLine, 2,1,4).getValues();
let period = valueTemp[0][0];
console.log("追加周期:"+period);
console.log(valueTemp[0]);
let beforeRegistrationDate = Moment.moment(valueTemp[0][2]);
let beforeDeadlineDate = Moment.moment(valueTemp[0][3]);
let temp1 = "";
let temp2 = "";
if(period == "毎日"){
temp1 = beforeRegistrationDate.add(1,'days');
temp2 = beforeDeadlineDate.add(1,'days');
}else if(period == "2日"){
temp1 = beforeRegistrationDate.add(2,'days');
temp2 = beforeDeadlineDate.add(2,'days');
}else if(period == "週"){
temp1 = beforeRegistrationDate.add(1,'weeks');
temp2 = beforeDeadlineDate.add(1,'weeks');
}else if(period == "月"){
temp1 = beforeRegistrationDate.add(1,'months');
temp2 = beforeDeadlineDate.add(1,'months');
}else if(period == "年"){
temp1 = beforeRegistrationDate.add(1,'years');
temp2 = beforeDeadlineDate.add(1,'years');
}
console.log("日付の変更")
let temp1F = temp1.format("YYYY-MM-DD");
let temp2F = temp2.format("YYYY-MM-DD");
console.log(temp1F);
console.log(temp2F);
let setValues = [[temp1F,temp2F]];
let nextRegistrationDate = sheet.getRange(infoLine,4,1,2).setValues(setValues);
}
function isCanRegistration(date){
let today = new Date();
let diffDate = new Date(date);
return Moment.moment(diffDate).isBefore(today);
}
TrelloAPI.gs
const idList = getTrelloListId();

function addCardToTrello(cardInfo){
  let cardName = cardInfo['taskName'];
  let listId = isListId(cardInfo['listName']);
  let dueDate = new Date(cardInfo['deadline']);
  const options =
   {
     "method" : "post",
   };
  let urlCard ="https://trello.com/1/cards?key="+key+"&token="+token+"&idList="+listId+"&name="+cardName+"&due="+dueDate;
  let responseCard = UrlFetchApp.fetch(urlCard,options);
  console.log(cardName+"を"+listId+"のリストに期限を"+dueDate+"として登録しました");
}

function isListId(listName){
  for(let index = 0;index<idList.length;index++){
    if(idList[index]['name'] == listName) {
      return idList[index]['id'];
    }
  }
}

function getTrelloListId(){
  let urlList =  "https://trello.com/1/boards/"+privateBoardId+"/lists?key="+key+"&token="+token+"&fields=name";
  let json = JSON.parse(UrlFetchApp.fetch(urlList).getContentText())
  return json;
}
config.gs
key = "your key";
token = "your token";
privateBoardId = 'your board id';
spreadSheetId = 'spread sheee id'
GASにMoment.jsを追加します
スクリプトエディタから「リソース」→「ライブラリ」から MHMchiX6c1bwSqGM1PZiW_PxhMjh3Sh48 を入れてライブラリを追加してください
Versionは最新のもので大丈夫です
(2021-3-15 追記)
2021-3-15現在 Moment.jsのライブラリIDが 15hgNOjKHUG4UtyZl9clqBbl23sDvWMS8pfDJOyIapZk5RBqwL3i-rlCo になっているそうです.
GASを定期実行できるようにする
以下のボタンを教えて定期実行の設定をする

設定画面は以下の通り
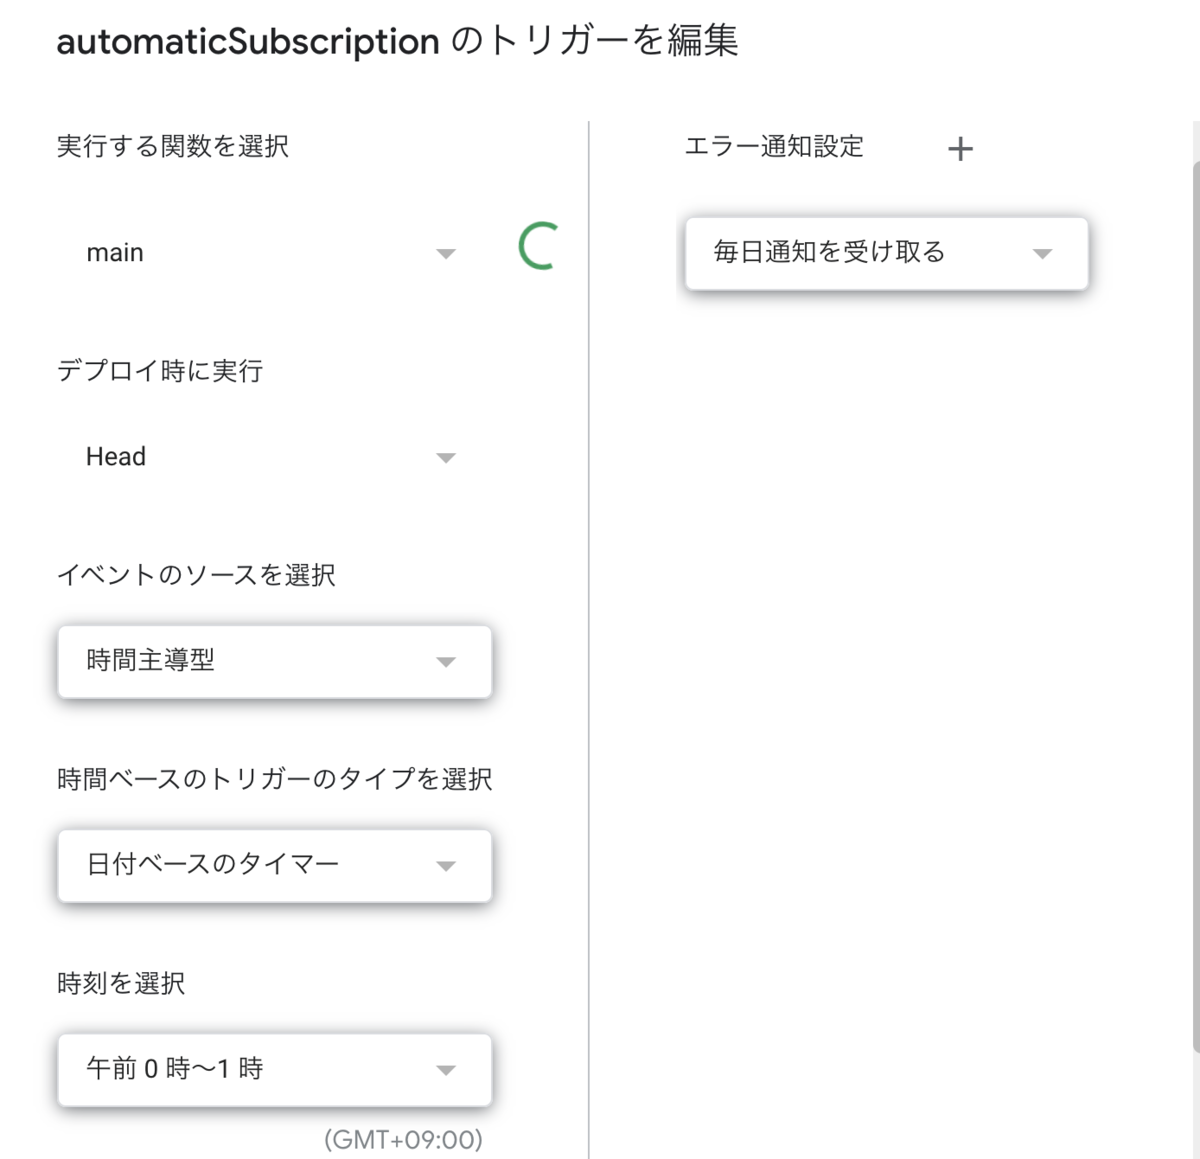
時刻の設定は任意の時間で大丈夫です
使用方法
ここまで来れば,spreadsheetの方で追加するカードの名前,日付などを追加してください
日付はダブルクリックすることで,カレンダー記入することができます
一番上と同じ画像ですが..
参考文献
沢山あるので,覚えている範囲で....
qiita.com
tonari-it.com